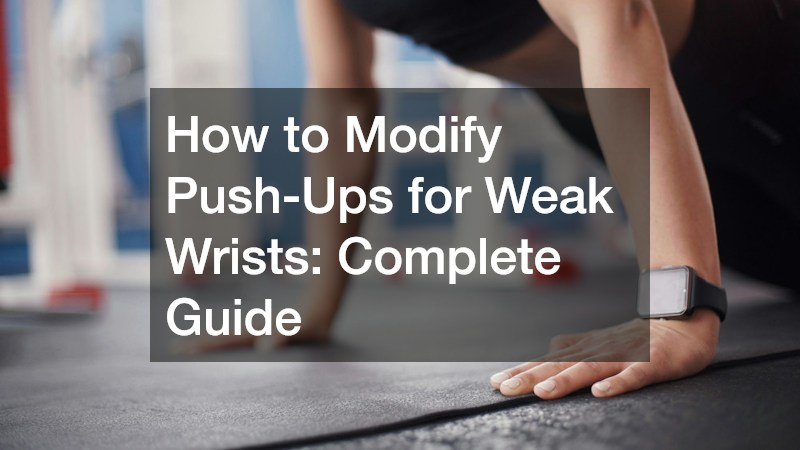
How to Modify Push-Ups for Weak Wrists: Complete Guide
Highlights:
-
Neutral Alignment Eliminates Pain: Standard flat-palm push-ups force the wrist into extreme 90-degree extension under heavy load; switching to knuckle, dumbbell, or parallette push-ups keeps the joint straight and relieves joint pressure.
-
Grip the Floor: Actively spreading your fingers and clawing the ground with your fingertips engages deep forearm flexors and redistributes body weight away from the sensitive heel of your palm.
-
Incline Reduces the Load: Raising your hands onto a wall, bench, or box decreases the total body weight transferred through your arms, making it easier to build upper-body strength without overloading weak wrists.
-
Equipment-Free Workarounds Exist: You don’t need fancy gear to adapt—forearm (dolphin) push-ups completely remove the hands from the movement while still targeting your chest and core.
-
Core Stability Protects Joints: Bracing your abdomen, glutes, and legs maintains a rigid plank structure, preventing your lower body from sagging and dumping extra weight onto your wrists.
-
Long-Term Resilience Requires Mobility and Strength: Consistent wrist stretches alongside forearm exercises (like wrist curls and farmer’s carries) build the joint flexibility and muscle stability required to eventually return to standard push-ups.
Push-ups are widely considered one of the ultimate upper-body exercises. They build strength in your chest, shoulders, triceps, and core without requiring a single piece of fancy gym equipment. However, for anyone dealing with weak wrists, past injuries, or conditions like carpal tunnel syndrome, standard push-ups can be painful. When you perform a traditional push-up, your wrist is placed in extreme extension—bent back at a sharp ninety-degree angle—while bearing a massive percentage of your total body weight. Over time, that angle can create intense pressure on sensitive joint structures, tendons, and nerves.
Experiencing wrist pain during a workout does not mean you have to give up on bodyweight training entirely. In fact, learning how to adjust your form and use smart modifications allows you to gain all the chest and arm benefits of the classic push-up without straining your joints. In this comprehensive guide, we will break down why wrist pain happens during push-ups, explore practical modifications using basic equipment or simple body positioning, and show you how to build stronger, more resilient wrists over time.
Why Do Push-Ups Cause Wrist Pain?
To understand how to modify a push-up effectively, it helps to know what is actually happening at the wrist joint when your hands are flat on the floor. When your palms rest flat on the ground, your wrist is forced into maximal extension. This means the back of your hand is pressed backward toward your forearm. In this position, the small bones in your wrist, known as the carpal bones, are jammed tightly together.
At the same time, you are transferring anywhere from 60 to 70 percent of your body weight through these compressed joints. If you have weak wrist flexors or extensors, poor mobility, or tight forearms, this combination of heavy load and extreme angle creates friction and impingement. Common causes of wrist discomfort during push-ups include:
-
Lack of Joint Mobility: Sitting at a computer desk all day can shorten forearms and reduce wrist flexibility, making full extension uncomfortable.
-
Weak Forearm and Hand Muscles: Small stabilizer muscles in the lower arms often lag behind larger chest and shoulder muscles, leading to inadequate joint support.
-
Improper Load Distribution: Dumping all your weight onto the heel of your palm puts direct pressure on the median nerve and carpals.
-
Prior Strain or Repetitive Stress: Past sprains, tendinitis, or carpal tunnel issues make joints prone to inflammation under heavy compression.
Recognizing these root causes makes it clear that the goal of modifying your push-up is simple: reduce the angle of wrist extension and redistribute your body weight more evenly across your arms and hands.
Essential Form Checks Before Modifying
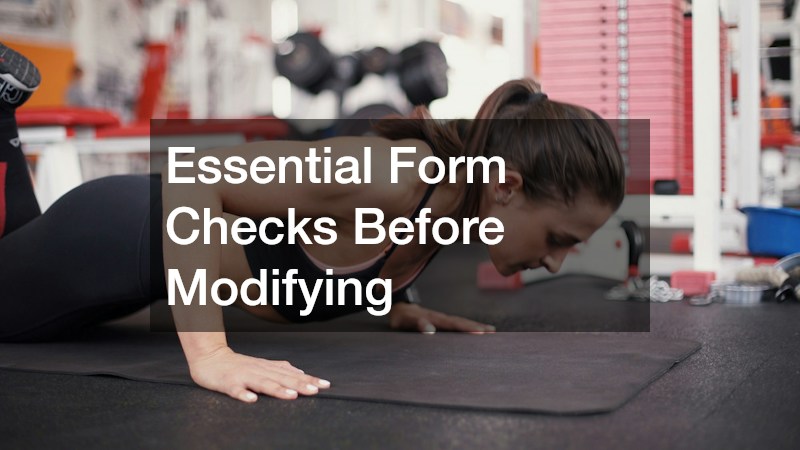
Before switching to alternative push-up variations, tweaking your standard technique can eliminate discomfort for many lifters. A few minor form adjustments often relieve unnecessary tension from the wrist joint immediately.
Distribute Weight Through Your Fingers
When performing a standard push-up, many people passively collapse their weight onto the heel of the palm. This concentrates maximum force directly onto the wrist joint. Instead, actively grip the floor. Spread your fingers wide and press your fingertips into the ground as if you are trying to claw the floor. This action engages the deep flexor muscles in your forearm, pulling stress away from the wrist joint and spreading force evenly across the whole hand.
Adjust Your Arm Placement
Placing your hands too far forward or too wide open forces your wrists into awkward side angles and increased extension. Ensure your hands are positioned directly under your shoulders, or slightly wider, with your middle fingers pointing straight ahead or turned slightly outward at a ten-degree angle. Turning your hands slightly outward rotates your shoulders into a safer external position, taking mechanical stress off your inner wrist joints.
Engage Your Entire Core and Lower Body
A weak, sagging core shifts extra weight forward onto your hands and wrists. When your midsection collapses during a push-up, your shoulder blades lose stability and force your forearms to bear more load than necessary. Keep your glutes squeezed, tuck your pelvis slightly, and brace your abdomen tightly. Holding a rigid plank structure distributes your total body weight across your entire frame, instantly lightening the burden on your hands.
Simple Modifications Using No Equipment
You do not need specialized gym tools to protect your wrists while training. You can execute several highly effective push-up variations using just your body weight and a few smart positional tweaks.
Knuckle Push-Ups
Knuckle push-ups are one of the most effective zero-equipment alternatives for wrist pain. By closing your hands into fists and resting your weight on your knuckles, you completely eliminate wrist extension. Your wrist remains in a neutral, straight alignment with your forearm, allowing the load to travel directly through the strong radius and ulna bones of your arm.
To execute knuckle push-ups safely, form a tight fist with both hands. Place your weight on the flat front surface of your first two knuckles—the index and middle finger knuckles—rather than the smaller, weaker knuckles near your pinky. If you are training on a hard wooden floor or tile, place a folded towel, yoga mat, or soft pad under your hands to prevent skin discomfort.
Forearm Push-Ups
If any weight bearing on your hands causes discomfort, forearm push-ups eliminate hand contact altogether. Also known as dolphin push-ups or low-plank press-ups, this variation places your entire forearm flat on the ground.
Set up in an elbow plank position with your forearms parallel to one another and your elbows directly beneath your shoulders. Lower your chest down toward the floor by bending at the elbows, then press through your forearms to raise your torso back to the starting plank position. Because your wrists are completely removed from the movement chain, you can train your chest, shoulders, and core with zero wrist extension or axial compression.
Elevated Incline Push-Ups
Reducing the amount of body weight your arms must support is an instant way to make push-ups friendlier on sensitive joints. Performing push-ups on an incline decreases the gravitational load on your upper body, making it much easier to hold good form without overloading your wrists.
Find a sturdy, elevated surface such as a weight bench, a stable chair, a plyometric box, or even a wall. Place your hands on the edge of the elevated surface and step your feet back until your body forms a straight line from head to heels. Lower your chest toward the object and press back up. The higher the elevation, the less body weight you press, allowing you to build upper body endurance without joint irritation.
Equipment-Based Modifications for Joint Safety
Investing in a few inexpensive pieces of home workout equipment can make push-ups significantly more comfortable while giving you greater freedom of movement.
Dumbbell Push-Ups
Using a pair of hex dumbbells as handles is a classic fix for wrist pain. Grasping the handles of dumbbells keeps your wrists in a completely neutral position—meaning your palms face each other and your wrists remain straight throughout the entire repetition.
Place two hexagonal dumbbells on the floor shoulder-width apart. Grab the handles tightly and set up in a standard push-up plank. Make sure to use hexagonal dumbbells rather than round ones to prevent the weights from rolling out from under you. Gripping the handles tightly keeps your wrist joints stacked vertically directly above the weight, eliminating bending entirely while strengthening your grip.
Push-Up Bars or Parallettes
Push-up bars and parallettes are specifically designed to improve push-up ergonomics. Like dumbbells, these tools feature raised handles that keep your wrists straight instead of bent back at a ninety-degree angle.
Because push-up bars sit firmly on the ground with wide bases, they provide superior stability compared to dumbbells. The raised handles also allow for an increased range of motion at the bottom of the movement, which stretches your chest muscles more effectively. If you are new to parallettes, start with a partial range of motion to ensure your wrists feel stable before lowering yourself all the way down.
Resistance Band Push-Ups
If you want to train your chest without placing any compressive force on your arms or wrists, resistance bands offer a powerful alternative. Using a loop band allows you to perform standing or seated horizontal chest presses that closely mimic the muscle activation of a classic push-up.
Wrap a long resistance band around your upper back, holding one end in each hand. Stand tall, pull your abdomen tight, and press both hands straight out in front of your chest until your arms are fully extended. Slowly bring your hands back toward your ribs under control. Because gravity is not pushing body weight down into your hands, your wrists remain entirely free from strain while your chest and triceps work against continuous rubber tension.
How to Build Wrist Strength and Mobility
While modifying your push-ups keeps you moving today, building stronger and more flexible wrists is the key to long-term joint health. Integrating simple mobility drills and strength exercises into your warm-up routine will fortify your lower arms over time.
Forearm and Wrist Mobility Exercises
-
Palms-Up Wrist Stretch: Extend one arm straight out in front of you with your palm facing up. Use your opposite hand to gently pull your fingers back toward your body until you feel a gentle stretch along your inner forearm. Hold for 20 to 30 seconds per side.
-
Palms-Down Wrist Stretch: Extend your arm with your palm facing down. Gently pull your hand downward toward the floor to stretch the top of your forearm and wrist. Hold for 20 to 30 seconds per side.
-
Tabletop Wrist Rocks: Get down on your hands and knees on a soft mat. Turn your hands so your fingers point toward your knees. Keep your palms flat on the ground and gently lean your hips back toward your heels to stretch your wrist flexors.
-
Wrist Circles: Clasp your hands together in front of your chest and roll your wrists in smooth clockwise and counterclockwise circles for one minute to lubricate the joint with synovial fluid before lifting.
Target Weak Stabilizers with Grip Exercises
Stronger grip strength correlates directly with better wrist stability. Adding simple forearm conditioning to your weekly workout routine will protect your joints during all upper body pushing and pulling exercises.
Consider adding farmer’s carries to your workouts by picking up a pair of heavy dumbbells or kettlebells and walking for distance while holding a tall posture. You can also perform wrist curls and reverse wrist curls using light dumbbells. Rest your forearms on your thighs or a flat bench, holding a dumbbell with your palms facing up, and curl your wrist upward. Flip your hands over so your palms face down and repeat the motion to target the wrist extensors. Strengthening these surrounding muscles creates a natural sleeve of support around the wrist joint.
Step-by-Step Plan to Progress Back to Standard Push-Ups
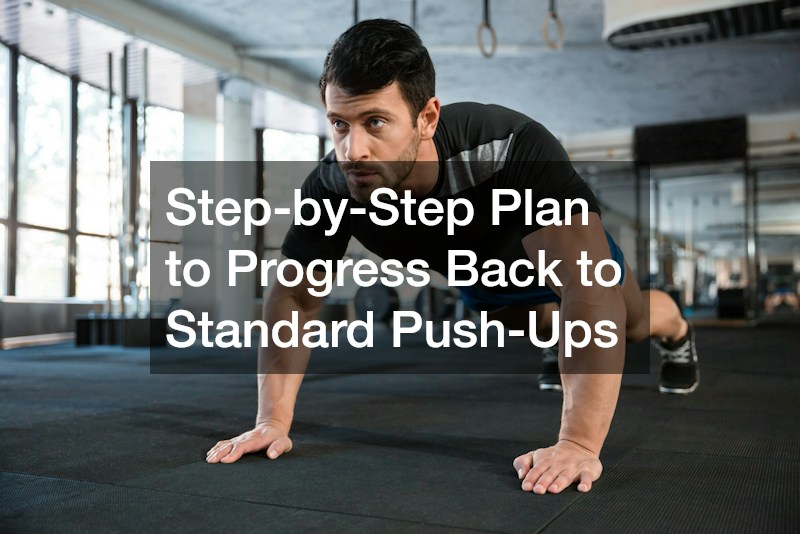
If your goal is to eventually return to classic floor push-ups without discomfort, follow a structured progression plan. Transitioning too quickly back into full bodyweight movements on flat palms can re-trigger inflammation, so take your time and listen to your body at every step.
Phase 1: Zero-Extension Foundations
Focus on exercises that keep your wrists completely straight and neutral. Spend two to three weeks mastering incline push-ups on an elevated surface, dumbbell push-ups, or knuckle push-ups. During this phase, perform wrist mobility stretches daily to increase flexibility without loading the joint at extreme angles.
Phase 2: Controlled Loading on Elevated Surfaces
Once your forearms feel stronger and you can perform neutral-grip variations without pain, introduce light flat-palm loading. Place your hands flat on a wall or a high countertop and perform high-incline push-ups. Because your body is almost upright, the angle at your wrist is gentle and the bodyweight load is minimal. Practice actively gripping the surface with your fingertips during every rep.
Phase 3: Partial Flat-Palm Progressions
Gradually decrease the elevation of your incline as your joint comfort improves. Move from a high countertop to a weight bench, and eventually to a low step or yoga block. Alternatively, try performing knee push-ups on a soft floor using flat palms. Dropping to your knees removes roughly 15 to 20 percent of your body weight from the movement, letting you test your wrist extension under lighter stress.
Phase 4: Full Standard Push-Ups with Proper Technique
When you can perform knee push-ups or low-incline push-ups with zero pain, return to full floor push-ups. Remember to apply the form tweaks you learned earlier: spread your fingers wide, claw the ground with your fingertips, keep your elbows tucked at a 45-degree angle, and brace your core tightly. Limit your total volume initially, starting with just two or three sets of clean repetitions to allow your wrists to adapt to the flat surface safely.
Final Thoughts
Wrist pain should never stand in the way of achieving a strong, healthy upper body. By understanding how joint compression works and taking advantage of simple adjustments—such as knuckle push-ups, elevated inclines, or dumbbell handles—you can continue building your chest, shoulders, and arms without irritating weak joints. Combine these practical modifications with consistent forearm warm-ups and grip-strengthening drills, and you will build resilient wrists capable of tackling any workout with complete confidence.